
Our Lakeside Boat Dock Reveal!
The whole reason we moved from my absolute favorite place on earth (our last home’s backyard) was to be on a lake. We knew that the ease of getting on the water would provide abundant family time and memories that we want to maximize as much as we can before we blink and our oldest is grown and off to college. (That’s 4 years away! Where does the time go!?)
We were thrilled to already have a dock there when we bought the house but it was in pretty rough shape. And since we wanted to jump right into enjoying the lake life, repairing the dock got bumped up on the immediate renovation list. I’m cringing looking at how to dock looked when we first closed.

TO NOW…

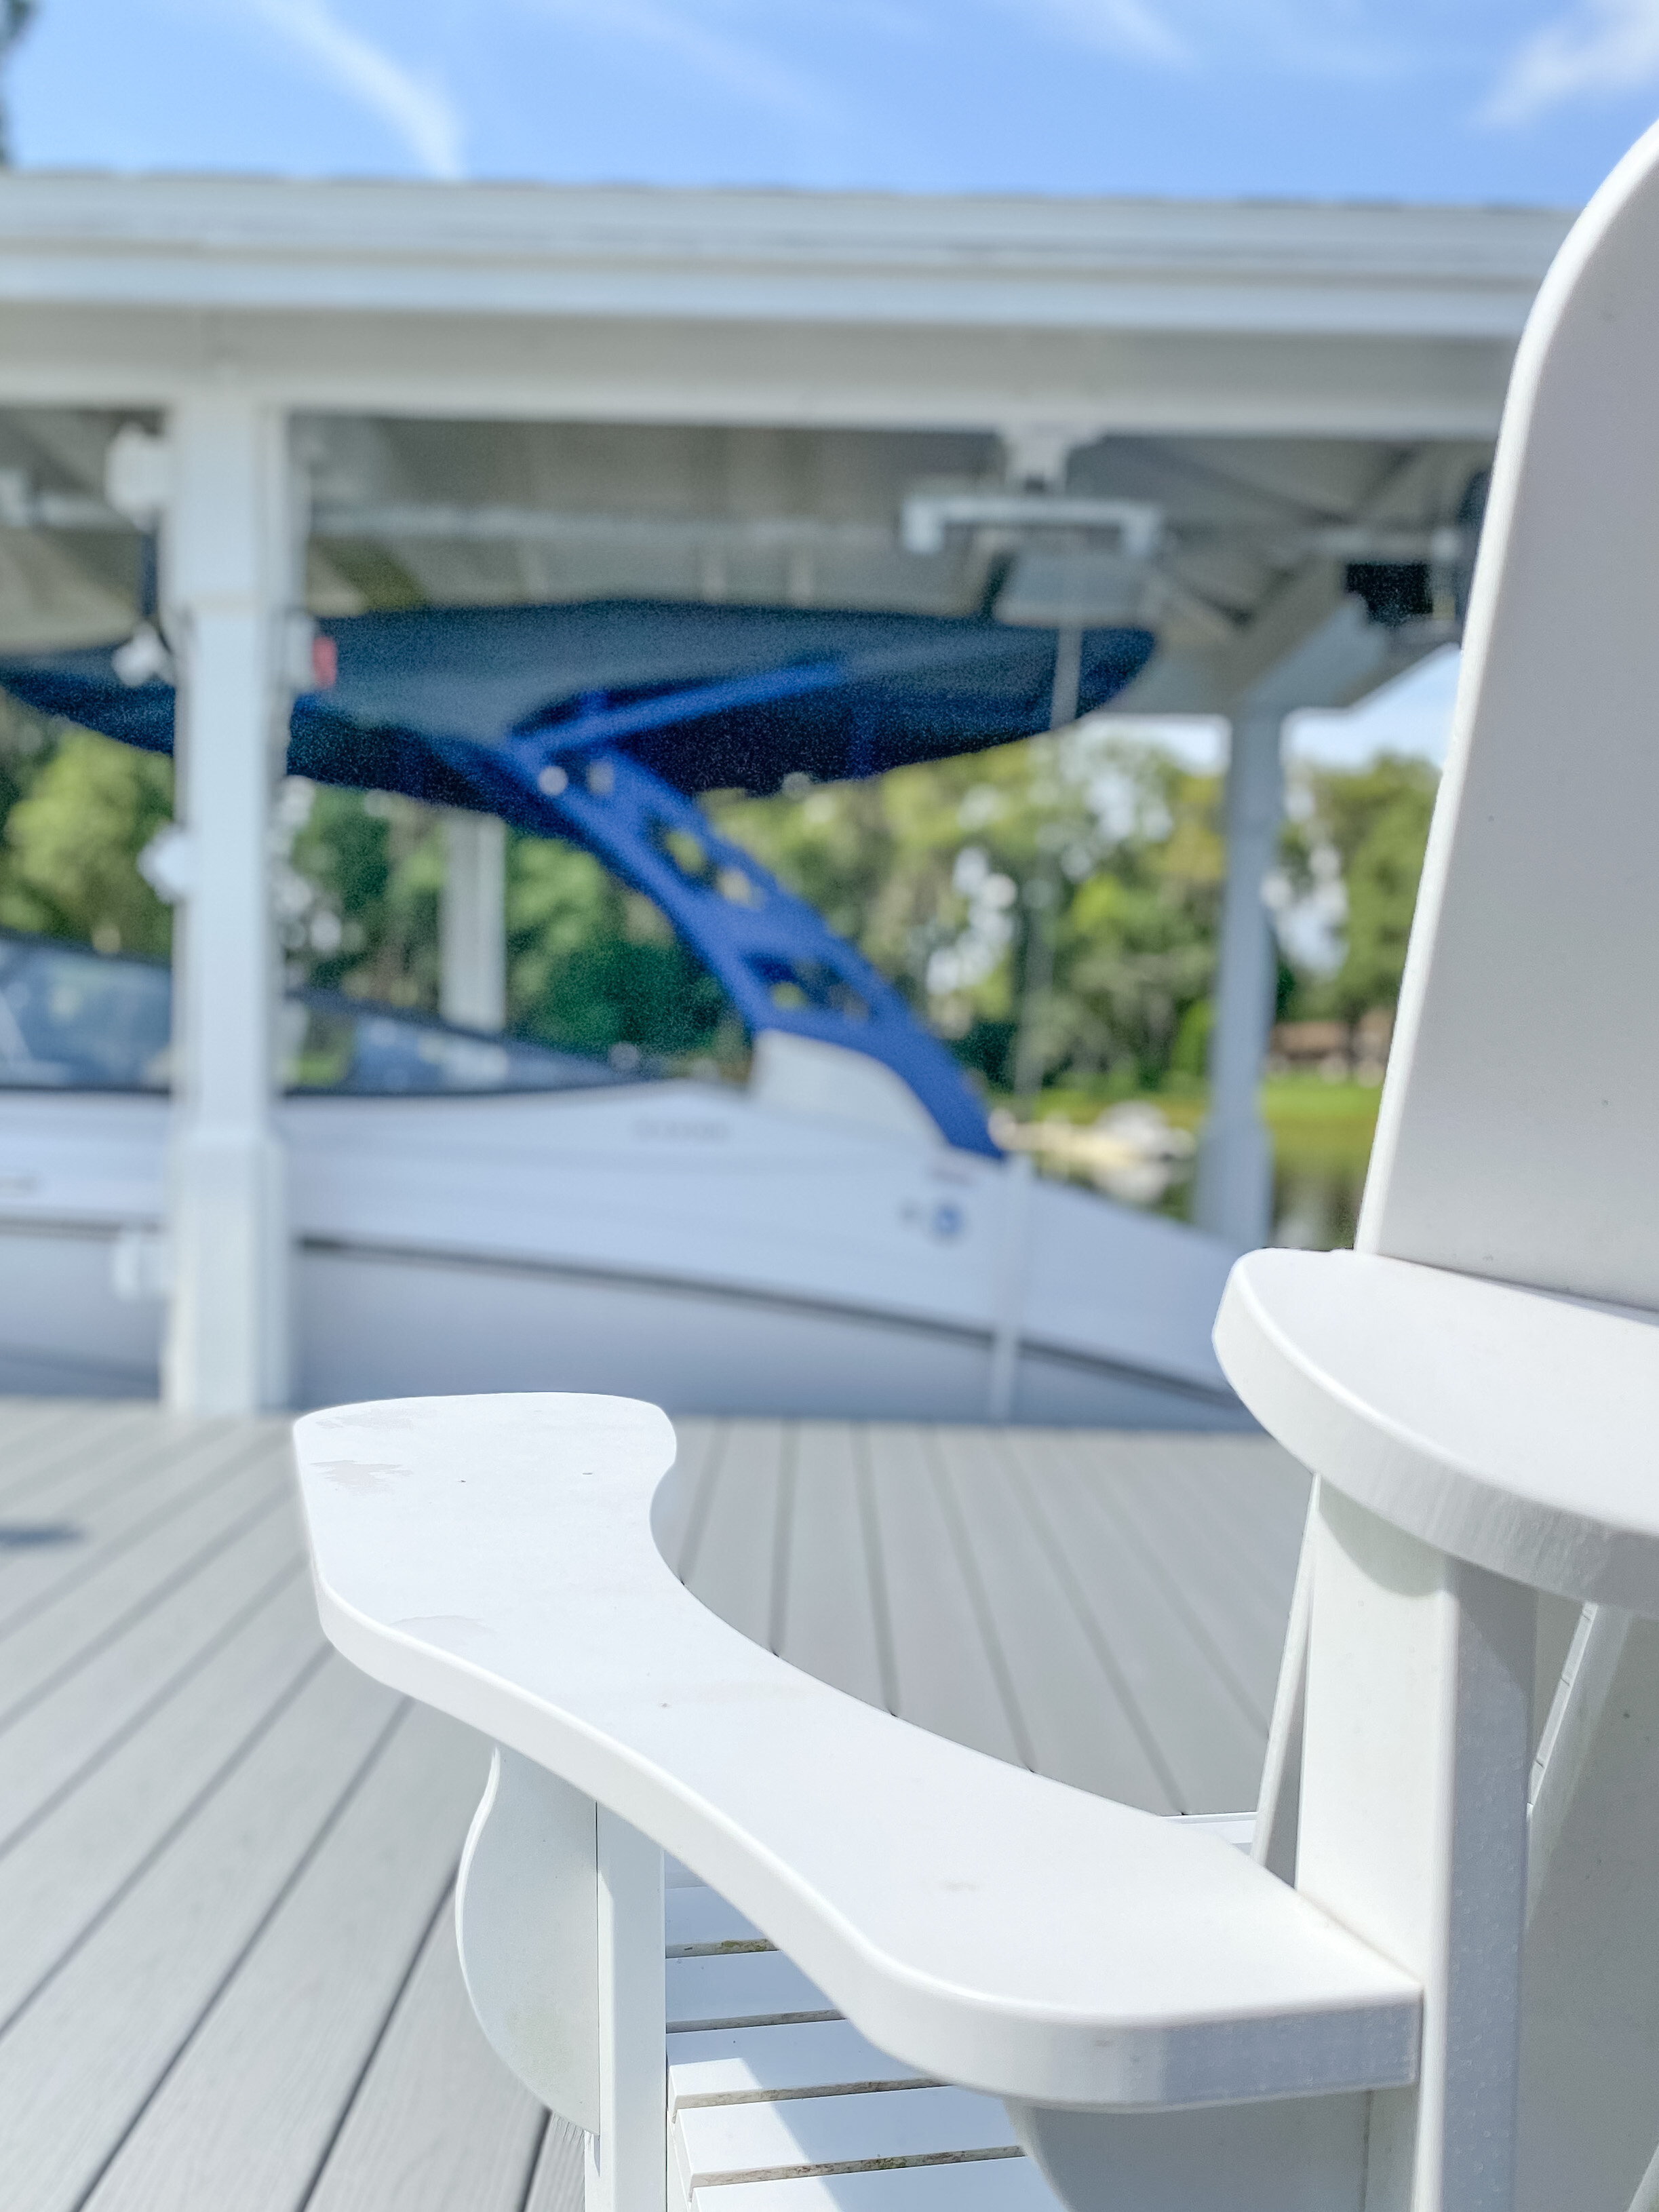
Aint she a beaut!? Luckily the structure part of the dock was sturdy so we wouldn’t have to do a complete rebuild. The footprint was pushed out a bit on all sides, including the platform to give us more space to enjoy. Just to be thorough, we had extra supports added and replaced underneath before replacing the wood decking with composite wood boards by WearDeck in the color option “cool grey”. It was a bit more of an investment (but not far off with the price of wood these days!) but will be worth it in the long run since the planks are weatherproof, waterproof, and heat-reflective.

The journey on this dock renovation really started when I decided I was going to take on painting the dock myself. There was a STEEP learning curve for me with the paint sprayer but in the end, I absolutely loved the process of growth and final result. Due to said learning curve, we did end up using 12 gallons of paint in HGTV HOME by Sherwin Williams Everlast Exterior paint in White Dove.

Quick takeaways from my first time using the Graco Paint Sprayer :
Follow the start up instructions. TO A TEE.
If it says not to water down. DONT.
Pay attention to the nozzle tip size and make sure it’s right for your project so you don’t waste paint on overspray.
tighten all your connections with a wrench not just by hand
keep it unclogged continuously instead of waiting until it explodes (not speaking from experience or anything 😏)
Be patient
Let the hose suck up paint fully and build up pressure. It takes a few minutes for this to happen every time you have to switch out the paint bucket.
short even sprays with light coverage makes a smoother finish
make sure the sprayer is not too close to what you are spraying or it will be super thick and drip
Wear long sleeves, pants, and cover your hair. Otherwise you will be picking paint off you for DAYS.

There are still some more steps before the dock is completely finished, but for now we are celebrating the long way she’s come already! Here’s what you can expect in the future though.
DOCK TO-DO LIST:
Touch ups from pressure washing overspray off
add storage racks under roof for life jackets, floats, etc.
add outdoor lights to posts
replace roof shingles when house roof is replaced

Thanks for cheering me on through the struggles of this dock makeover. We know it took much longer than the magic of DIY TV or social media likes to portray but that’s real life and exactly what I want to display here in this space. Everything might not end up perfect or go smoothly, but the journey is in showing up and never quitting. More than a pretty dock, let the “before/after” photos remind you that what’s sandwiched in between is the real good stuff.